

The nest is the best in the business when it comes to security cameras that are used in and around your home and office. There are some times when you need to adjust the camera video quality and playback settings depending on whether you want to save bandwidth or save the higher-quality video.

Products used in this guide
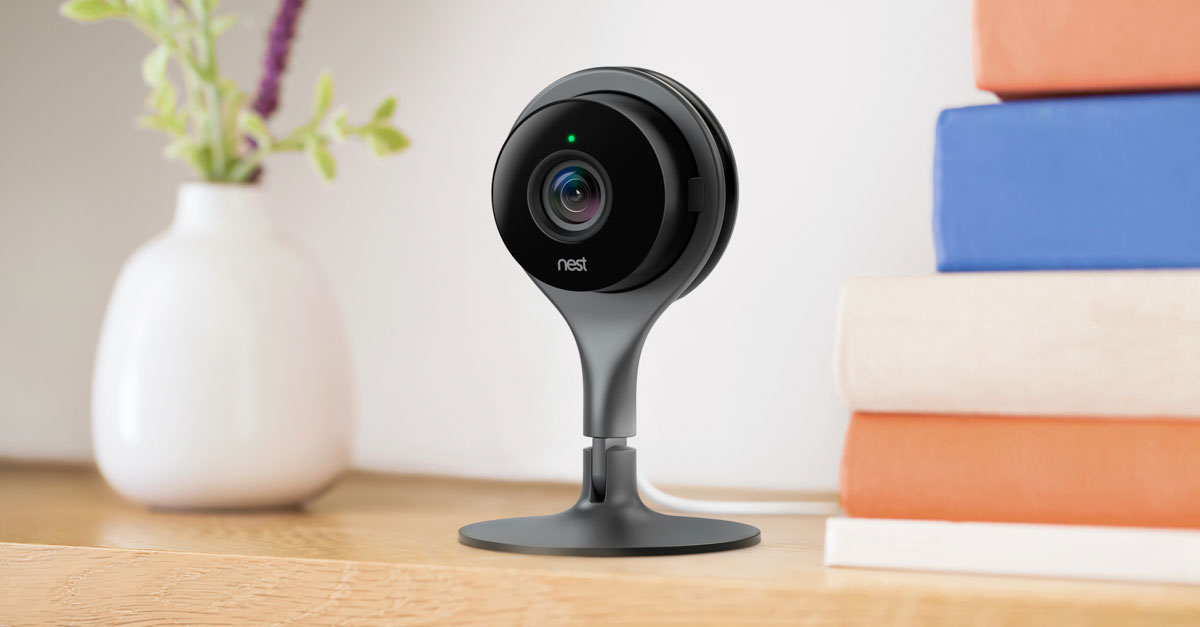
- In your space: Nest cam indoor ($178)
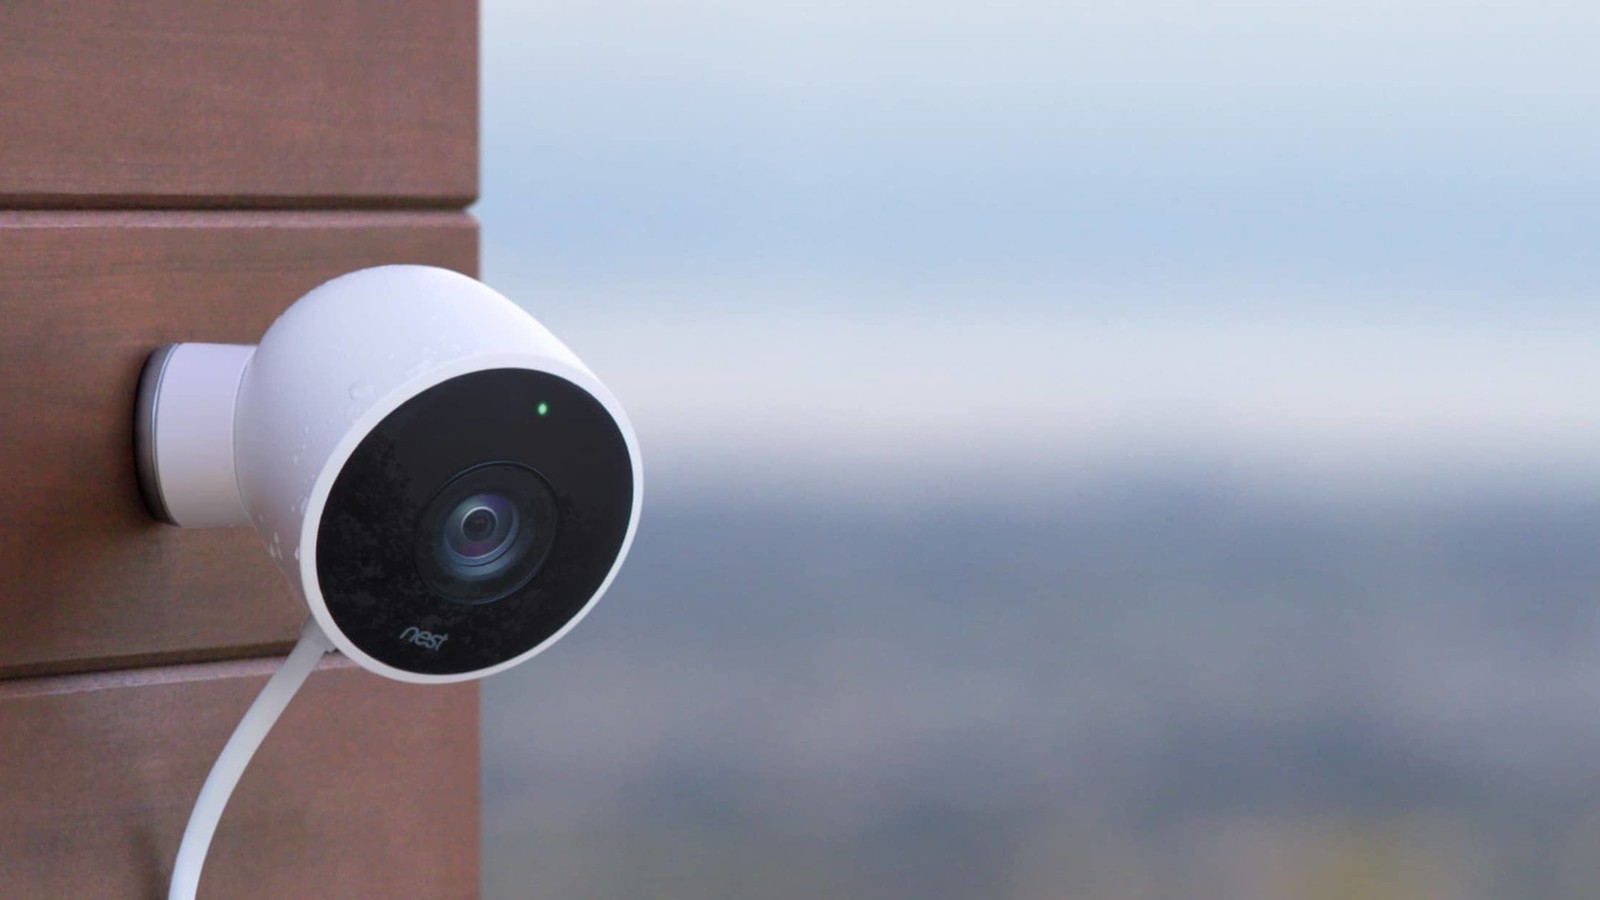
- The door: Nest cam outdoor ($179)
How to change the video quality of your Nest Camera?
- Open the Nest app on your smartphone.
- Select the camera for which you want to change the settings.
- Tap Settings in the top right-hand corner.
- Select Quality and bandwidth.
- Choose either Low, Medium, or High.
When picking the video quality of your choice, there are a few things to take care of. you want to know how much bandwidth and what resolution is being used, In regards to the Nest Cam Indoor and Outdoor.
After the selection of the video quality, it’s important to keep in mind that this is the “maximum video quality” that will be used. The Nest Cam will adjust the resolution and compression depending upon how much bandwidth is available through your internet connection.

Another thing to keep in mind is that changing the video quality and resolution also affects what your videos look like after they have been recorded. This is only available for those who already are subscribed to Nest Aware. But there may be a few seconds gap in your video history when changing the settings.
Also Read: Fitbit Versa Lite review: A Great Standard for Cheap Smartwatches
Finally, when the video playback settings have been adjusted, your camera will briefly restart in order to apply those settings. This is to ensure that your video is lined up with whatever settings have been changed from the Nest app on your phone or tablet.